How to setup AWS account for local development
Amazon Web Services (AWS) offers a free account for 12 months. If you don’t have an account, Follow these steps to create your AWS account. After creating your account, follow the guide below to securely setup your account for local development.
Although, AWS offers a free account for 12 months, the actual services are not entirely free rather there is a free limit after which you will be charged as per your usage. This is why it is important to setup a cost tracking to track and monitor services incurring charges in your account.
Follow the below steps securely setup your account
- Create an Administrator account
- Enable password complexity requirement
- Enable Multi-factor Authentication (MFA)
- Enable cost explorer
- Configure AWS Budgets to track your usage
1. Create an Administrator account
When you create your AWS account, you begin with a single sign-in identity that has complete access to all AWS services and resources in the account. This identity is called the AWS account root user and is accessed by signing in with the email address and password that you used to create the account. AWS strongly recommend that you do not use the root user for your everyday tasks, even the administrative ones. Root user credentials should only be used to perform a few account and service management tasks. Similarly, AWS strongly recommends that you do not create access keys for the root user.
To manage your AWS account, follow the steps below to create Administrator user and assign all necessary permissions.
- Sign in to the AWS Management Console and open the IAM console at https://console.aws.amazon.com/iam
- In the navigation pane, choose Users. Then, choose Create user
- Enter your preferred username and tick the option “Provide user access to the AWS Management Console”
- Tick the option “I want to create an IAM user” and enter your password. (Ignore the prompt to create IAM user with Identity Center, this is only required if you are setting up an organization account)

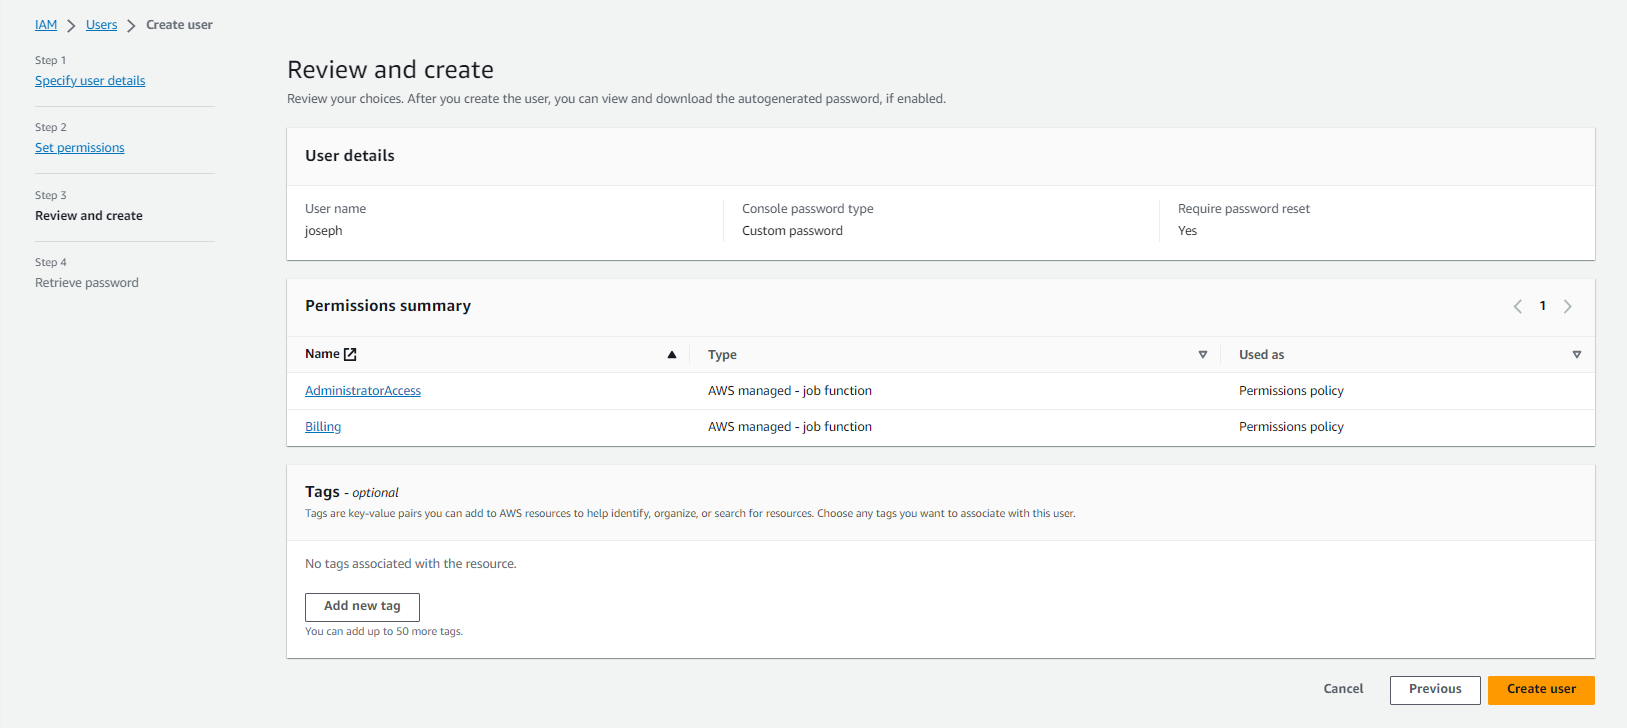
- Choose Next. Select “Attach policies directly”. Search and select the below AWS policies
- AdministratorAccess
- Billing
- Click Next and Create user.
2. Enable password complexity requirement
Password complexity requirement forces users to create a strong password, making it difficult for hackers to brute force your password. AWS accounts have been compromised in the ild due to weak passwords. Follow the steps below to enable password complexity requirements.
- Sign in to the AWS Management Console and open the IAM console at https://console.aws.amazon.com/iam
- In the navigation pane, choose Account settings.
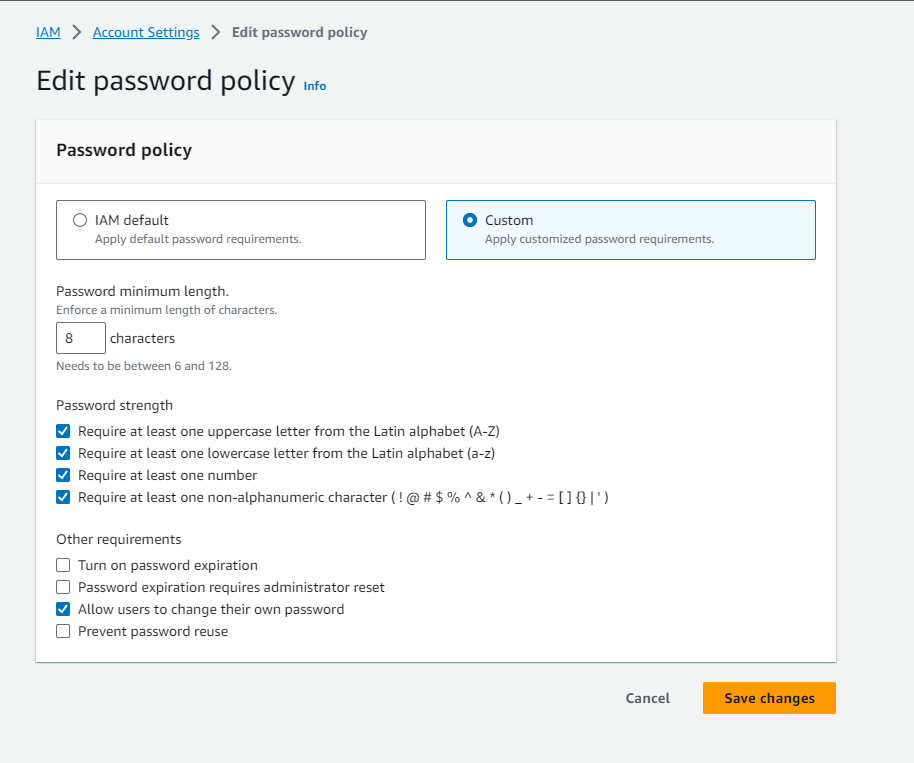
- In the Password policy section, choose Edit
- Select custom. Under Other requirements, select “Allow users to change their own password” and then choose Save changes.
3. Enable Multi-factor Authentication (MFA)
To enable MFA, you have to create a policy. Then attach the policy to the IAM user, in this case the Administrator user.
To create a policy,
- Sign in to the AWS Management Console and open the IAM console at https://console.aws.amazon.com/iam
- In the navigation pane, choose Policies. Then, choose Create policy
- In the policy editor, select JSON and add the below policy
{
    "Version": "2012-10-17",
    "Statement": [
        {
            "Sid": "AllowViewAccountInfo",
            "Effect": "Allow",
            "Action": [
                "iam:GetAccountPasswordPolicy",
                "iam:ListVirtualMFADevices"
            ],
            "Resource": "*"
        },
        {
            "Sid": "AllowManageOwnPasswords",
            "Effect": "Allow",
            "Action": [
                "iam:ChangePassword",
                "iam:GetUser"
            ],
            "Resource": "arn:aws:iam::*:user/${aws:username}"
        },
        {
            "Sid": "AllowManageOwnAccessKeys",
            "Effect": "Allow",
            "Action": [
                "iam:CreateAccessKey",
                "iam:DeleteAccessKey",
                "iam:ListAccessKeys",
                "iam:UpdateAccessKey"
            ],
            "Resource": "arn:aws:iam::*:user/${aws:username}"
        },
        {
            "Sid": "AllowManageOwnSigningCertificates",
            "Effect": "Allow",
            "Action": [
                "iam:DeleteSigningCertificate",
                "iam:ListSigningCertificates",
                "iam:UpdateSigningCertificate",
                "iam:UploadSigningCertificate"
            ],
            "Resource": "arn:aws:iam::*:user/${aws:username}"
        },
        {
            "Sid": "AllowManageOwnSSHPublicKeys",
            "Effect": "Allow",
            "Action": [
                "iam:DeleteSSHPublicKey",
                "iam:GetSSHPublicKey",
                "iam:ListSSHPublicKeys",
                "iam:UpdateSSHPublicKey",
                "iam:UploadSSHPublicKey"
            ],
            "Resource": "arn:aws:iam::*:user/${aws:username}"
        },
        {
            "Sid": "AllowManageOwnGitCredentials",
            "Effect": "Allow",
            "Action": [
                "iam:CreateServiceSpecificCredential",
                "iam:DeleteServiceSpecificCredential",
                "iam:ListServiceSpecificCredentials",
                "iam:ResetServiceSpecificCredential",
                "iam:UpdateServiceSpecificCredential"
            ],
            "Resource": "arn:aws:iam::*:user/${aws:username}"
        },
        {
            "Sid": "AllowManageOwnVirtualMFADevice",
            "Effect": "Allow",
            "Action": [
                "iam:CreateVirtualMFADevice"
            ],
            "Resource": "arn:aws:iam::*:mfa/*"
        },
        {
            "Sid": "AllowManageOwnUserMFA",
            "Effect": "Allow",
            "Action": [
                "iam:DeactivateMFADevice",
                "iam:EnableMFADevice",
                "iam:ListMFADevices",
                "iam:ResyncMFADevice"
            ],
            "Resource": "arn:aws:iam::*:user/${aws:username}"
        },
        {
            "Sid": "DenyAllExceptListedIfNoMFA",
            "Effect": "Deny",
            "NotAction": [
                "iam:CreateVirtualMFADevice",
                "iam:EnableMFADevice",
                "iam:GetUser",
                "iam:ListMFADevices",
                "iam:ListVirtualMFADevices",
                "iam:ResyncMFADevice",
                "sts:GetSessionToken"
            ],
            "Resource": "*",
            "Condition": {
                "BoolIfExists": {
                    "aws:MultiFactorAuthPresent": "false"
                }
            }
        }
    ]
}- Click Next, enter policy name as “ForceMFA” and choose Create policy
Next, you need to add the new policy to the IAM user.
- In the navigation pane, choose Users. Then, select the admin user you just created
- Under Permission policy, click Add permissions.
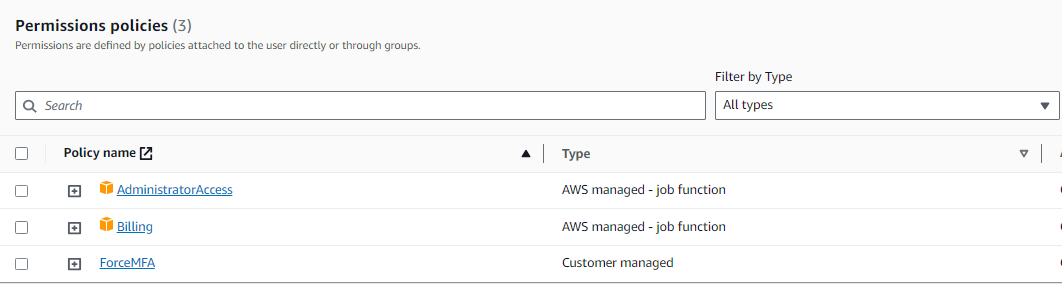
- Select Attach policies directly, search for the policy name “ForceMFA”
- Choose Add permissions
4. Enable cost explorer
You can enable Cost Explorer for your account by opening Cost Explorer for the first time in the AWS Cost Management console. AWS prepares the data about your costs for the current month and the previous 12 months, and then calculates the forecast for the next 12 months. The current month’s data is available for viewing in about 24 hours. The rest of your data takes a few days longer. Cost Explorer updates your cost data at least once every 24 hours.
To do this,
- Sign in to the AWS Management Console and open the IAM console at https://console.aws.amazon.com/iam
- Goto the top search bar, search “cost explorer”.
- In the navigation pane, choose Cost Explorer.
- On the Welcome to Cost Explorer page, choose Launch Cost Explorer.
5. Configure AWS Budgets to track your usage
It is very common for developers to provision resources (such as an EC2 instance) and forget to delete it when they are done with testing and development. AWS Budget helps your set a budget and notifies you when that budget is exceeded. It is very helpful because you can set a budget as low as $1 to track usage.
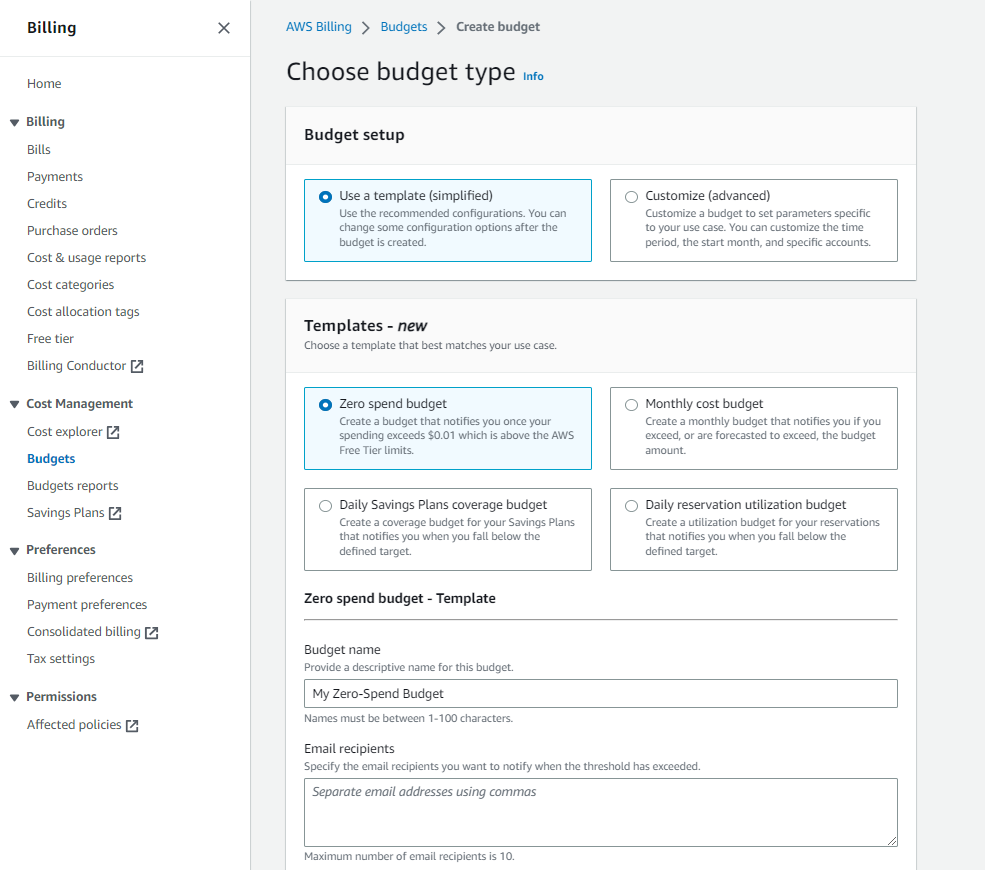
A zero spend budget is budget that notifies you after your spending exceeds AWS Free Tier limits. Let us create a zero spend budget.
- Sign in to the AWS Management Console and open the IAM console at https://console.aws.amazon.com/iam
- Goto the top search bar, search “budget”. Select AWS Budgets
- Choose Create budget.
- Under Budget setup, select use a template. Under Templates select Zero spend budget
- Create budget
References: AWS Account Management, AWS IAM, AWS Prescriptive Guidance, AWS Billing, AWS Cost Management