Part II: Deploy NodeJS app from GitHub to Azure Web App using GitHub actions

Prerequisite
- Azure account
- If you don’t have an existing account, click the link to create a free Azure account before moving to the steps.
- GitHub account
- If you don’t have a GitHub account, follow the steps in the link to create an account before moving forward.
In this section, we will focus on building and deploying our code to Azure web app using GitHub actions.
Steps:
- Login to portal.azure.com, go to the global search bar at the top of the webpage, type App Services, then select
App Servicesfrom the dropdown menu. - Click
Createand selectWeb Appfrom the dropdown menu. - Create the Web App using the following parameters,
- Subscription: leave the default Azure subscription on your account
- Resource Group: web-app-rg
- Name: react-nodejs-app
- Publish: code
- Runtime stack: NODE 18 LTS
- Operating System: Linux
- Region: East US
- Linux Plan: Click
Create new, enter web-app-sp.Note: This action automatically creates a new App Service Plan with Free F1 pricing plan. To view this, type App Service Plan in the global search bar and select it.
- Pricing plan: Free F1 (Shared Infrastructure)
- Click
Next- Basic authentication: Enable
Note: This will allow permission for GitHub actions workflow to deploy code to Azure Web App.
- Basic authentication: Enable
- Click
Review + create - Review the summary. Then click,
Create - Wait a few minutes until the Notification shows, Deployment succeeded
- Click
Go to Resource, to open the Web App overview - Click
Download publish profile. Save download for later. - View the source code repository, go to https://github.com/vixen24/csn-training-web-app
- Fork the repository to make a copy in your Github account
- Click on the
Forkbutton at the top right corner of the repository and then, clickCreate fork.
- Click on the
- Click
Settingson the forked repository. - Click
Secrets and variables, located on the bottom left pane - Click
Actionson the dropdown menu - Click
New repository secret - Enter the following parameters to create a secret variable.
- Name: AZUREAPPSERVICE_PUBLISHPROFILE_9619
- Secret: Refer to step 9, copy the content of the download file and paste it here.
-
Click
Add secret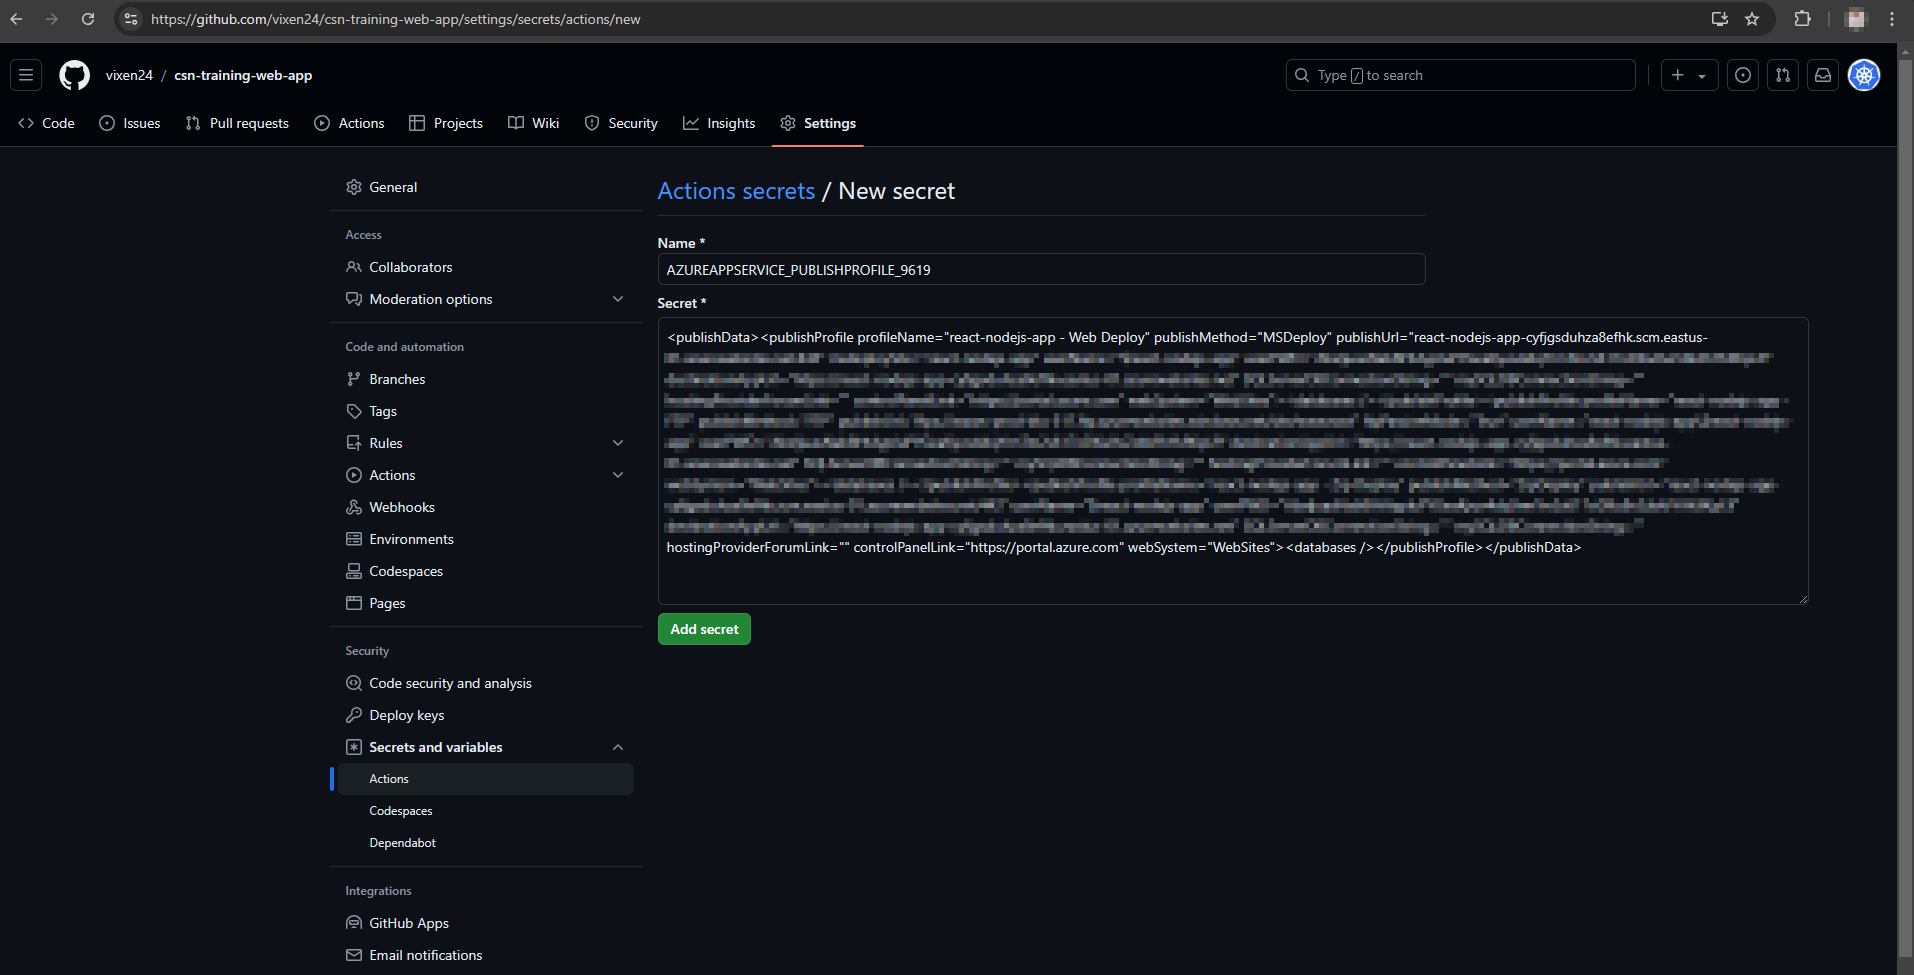
Secrets and variables The secret variable created will be used in the GitHub action workflow file located at .github/workflows. This ensures that our Web app publish profile is confidential.
To trigger a workflow run (aka CICD pipeline), we need to make a commit and push it to our main branch. To do this, we would edit the README.md file and commit the changes. See next steps
- Click
Code, located at the top bar - Click
README.md -
Click the
Editbutton located the top right corner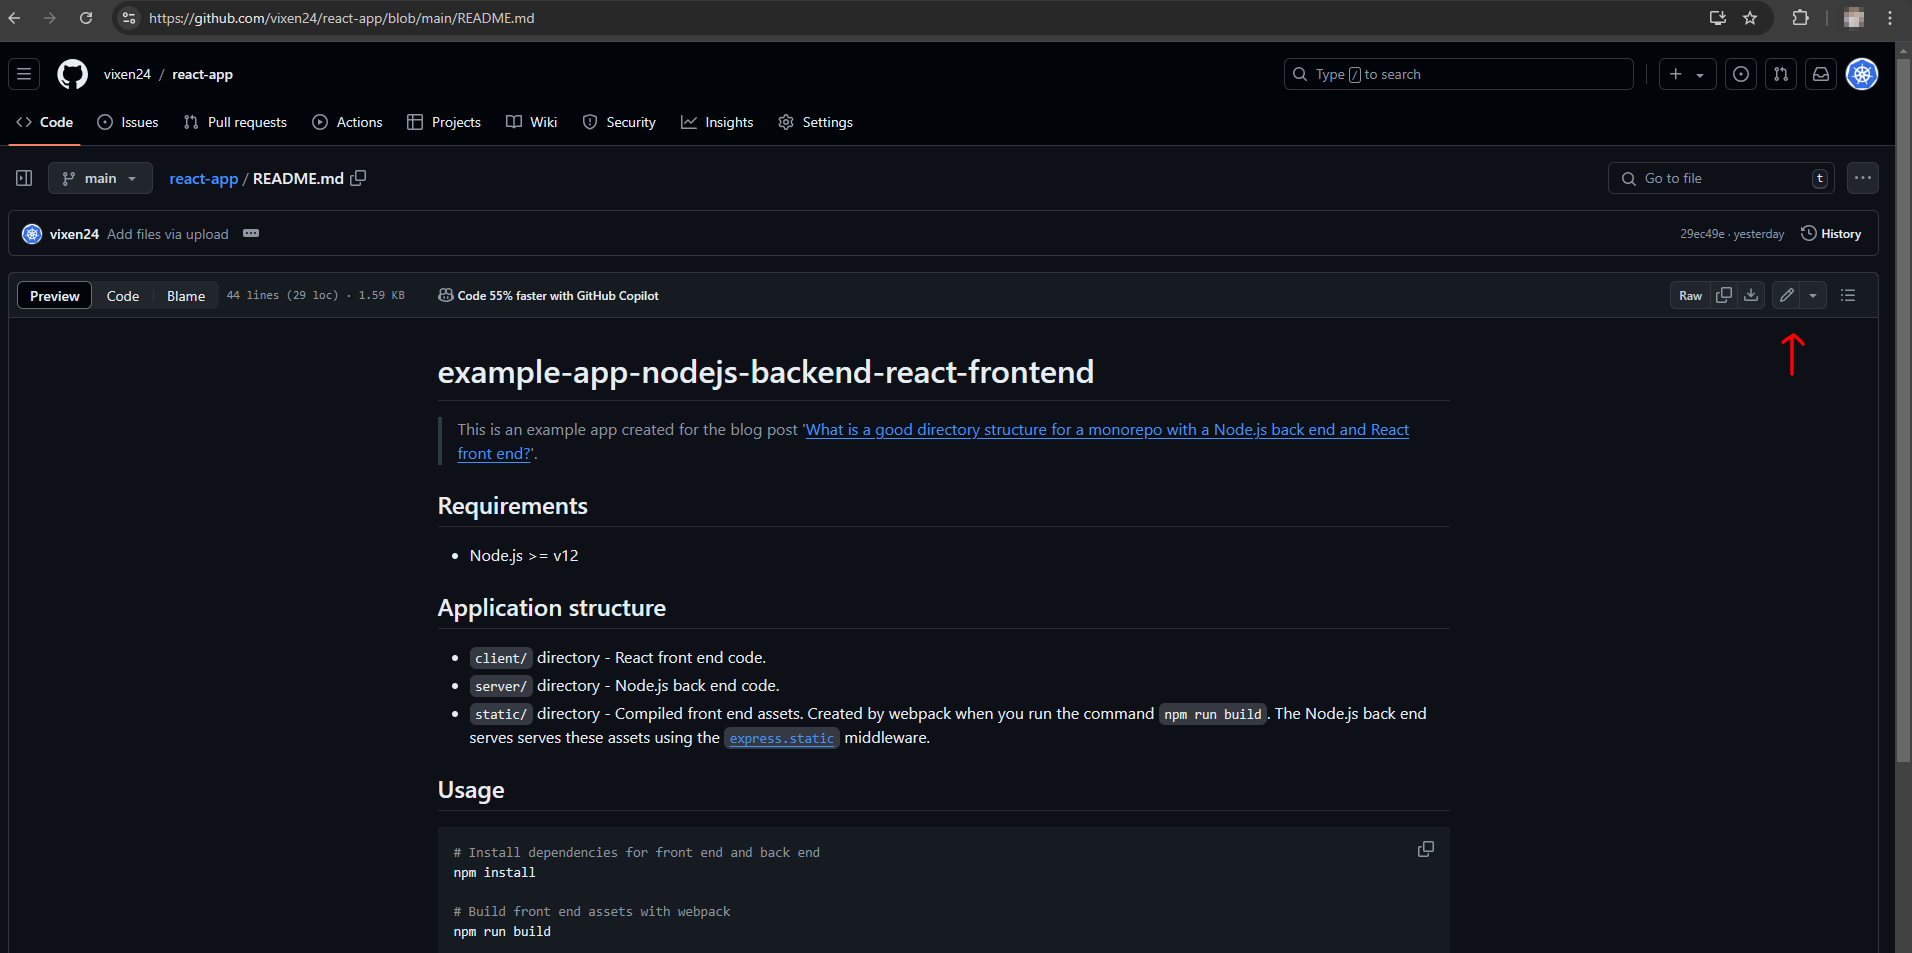
README.md edit button - Change Node.js >= v12 to Node.js = v18
- Click
commit changes, located at the top right corner - Click
commit changeson the message box - Click
Actionslocated on the top bar, to view workflow run - Wait a few minutes until workflow run has succeeded
- The workflow run will build the application, and then deploy app to Azure Web App service.
-
Go to the Web App you created in step 5 above and click the
Default domainto view the website.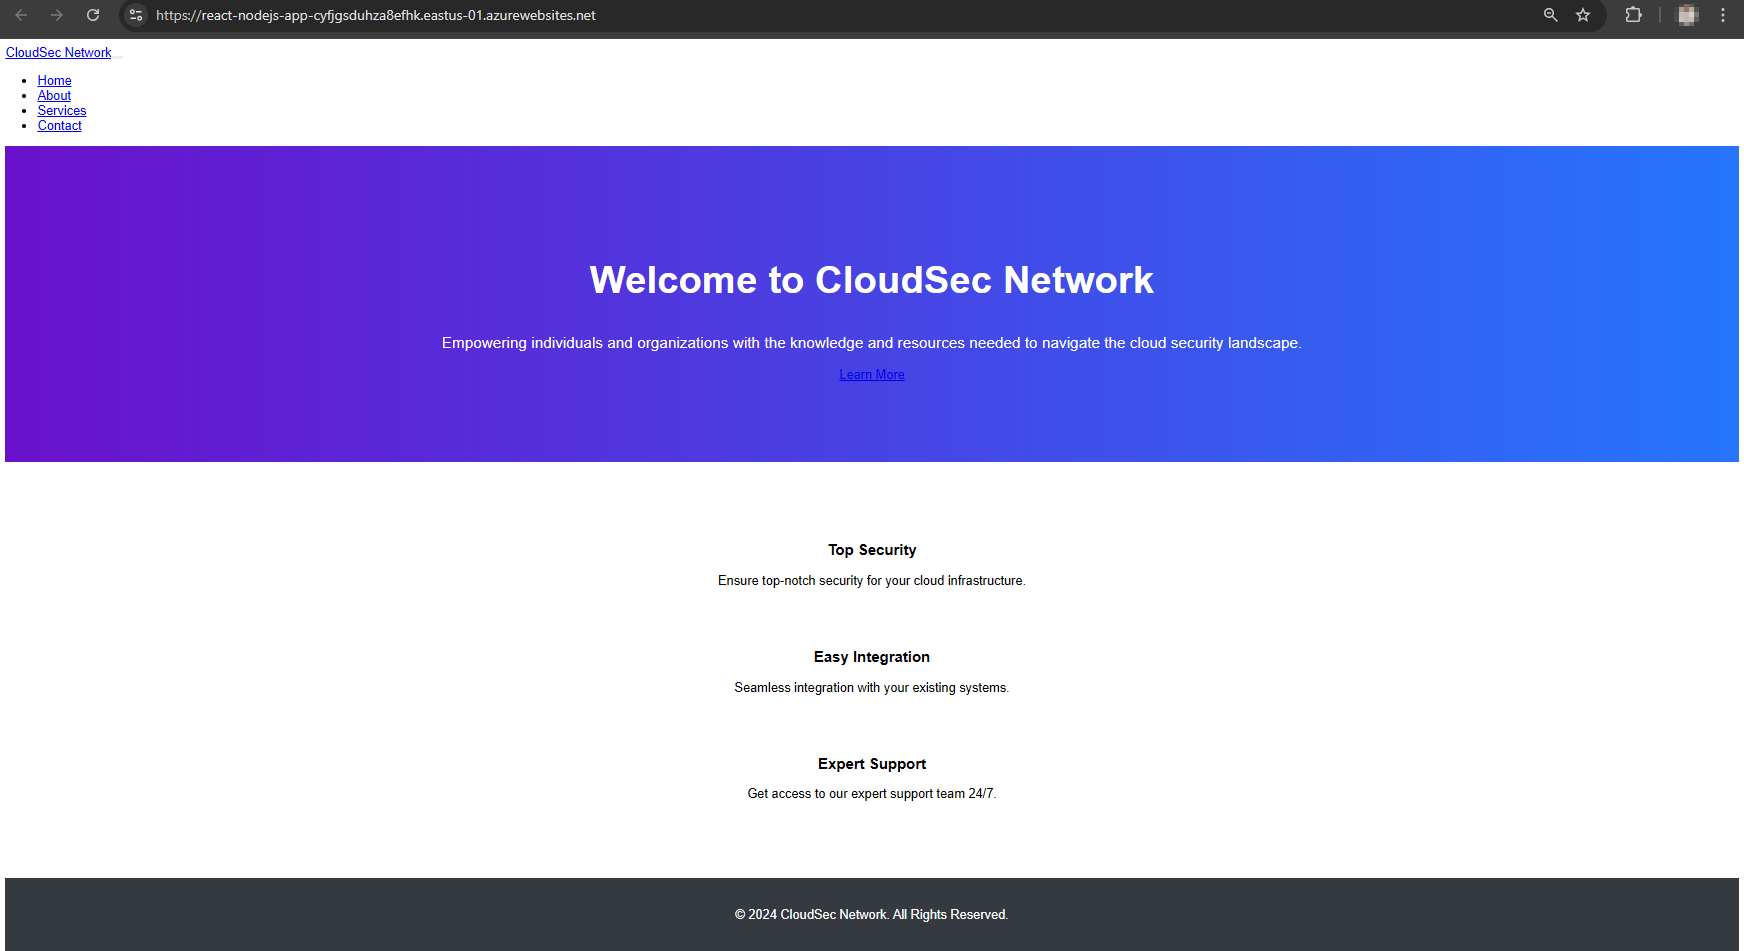
Web app deployed
Lastly, deprovision resources you created to prevent unexpected billing at the end of the month. In the steps below we will delete web-app-rg resource group which contains all the resources we created.
- From the global search bar at the top, type Resource groups, select
Resource groupsin the dropdown.- Click
web-app-rgin the list of resource groups- Click
Delete resource groupin the top bar- Enter the name of the resource group and click
Delete